The Interior |
| Home | The Bus Itself | Buying the Essentials | Undercarriage | Interior |
 |
 |
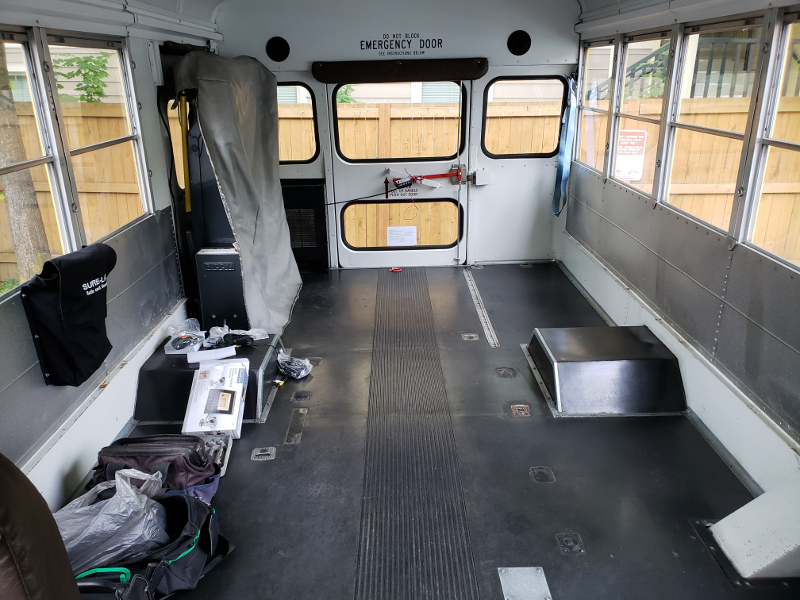
We had only 14' long, 7'4" wide and 6'2" tall to work with in the middle of the 'hallway'. By putting in more insulation, etc., the width narrowed considerably. And after putting in the a/c, the height is about 6'. Not for tall people for sure. We have looked at other conversions and we decided to put in a couch/bed, a fridge, a sink and an oven/range on the driver's side. The passenger side will have a 6' dinette (also a bed), wardrobe, and a bath w/o shower. We can work on the shower part later. We figured if we are gone any length of time, we will use an rv site and their dump station and their showers. |
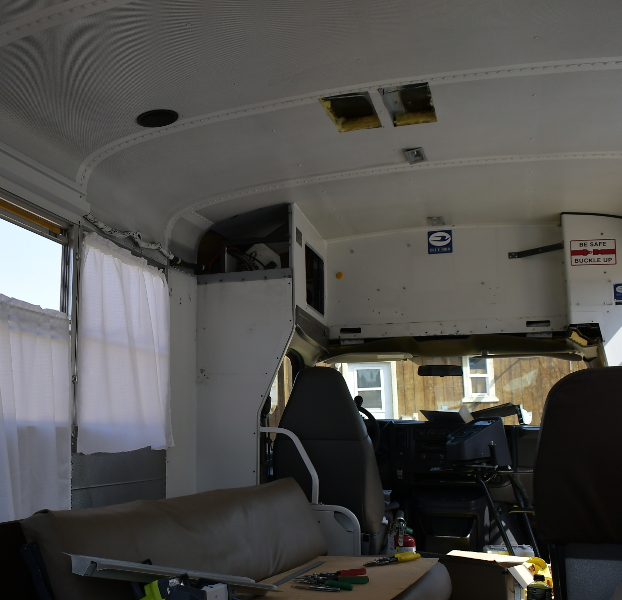 |
Cutting the hole.... We found that the center of the bus has some sheet metal spacers that holds the ribs at a certain distance apart. Because of this, the a/c is not directly in the center of the ceiling as you can see in this photo (the ceiling lights are the middle). We chose to put the a/c along one rib for strength instead of directly between ribs where it could bow. (Note: if you notice, there are some 'seams' that go over the ceiling. These are the ribs that go over the bus that is its structure. They are approximately 1-1/2" wide x 2" tall rectangular tubing in the ceiling area and in the walls. | |
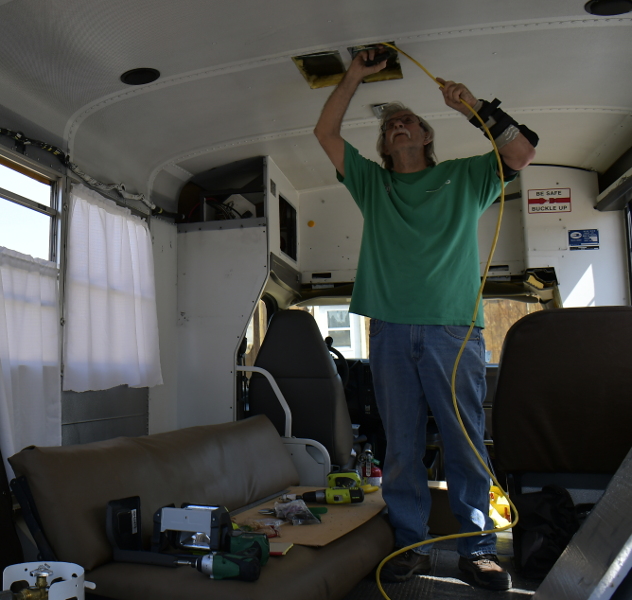 |
Running the Wire..... There is a clear channel from one side to the other in the ceiling, only insulation and the middle spacer in the way. The wire-covering channel (seen in the first photo above the window) was removed to expose the wires going to the front and back of the bus . We had to drill a hole in the upper wall to let the electrical cord through from the a/c. The wire is protected by a grommet through the metal. | |
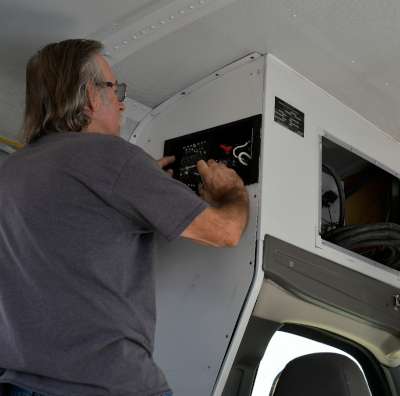 |
Hooking up the a/c wires to the control panel (circuit breaker box). | |
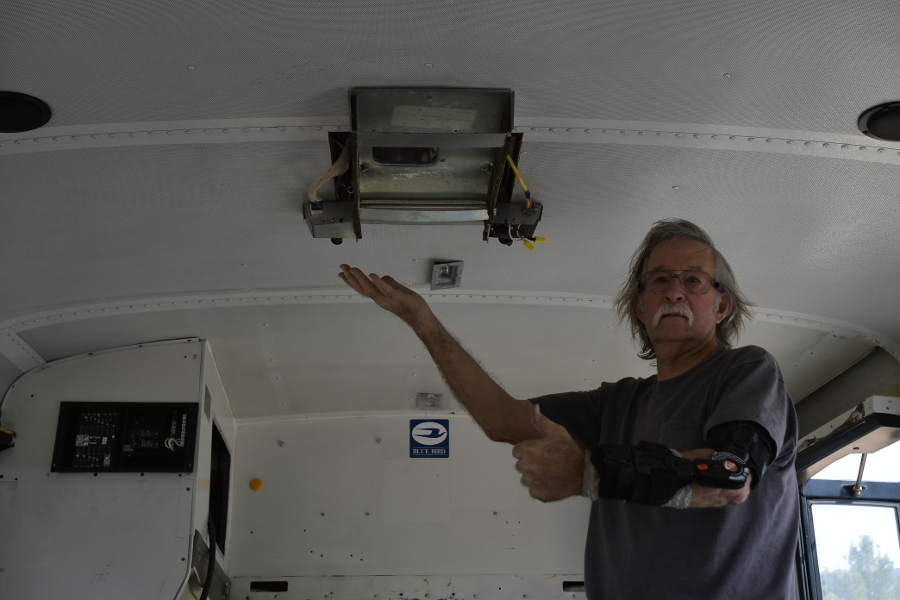 |
The downdraft structure/mounting plate of the a/c in place. | |
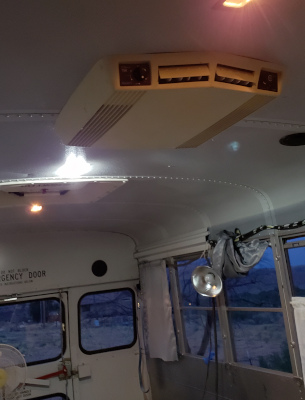 |
The plenum (cover) installed. |
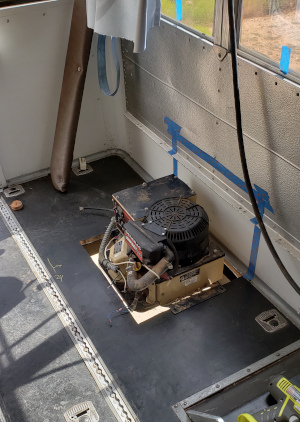 |
After going back under the bus to find a location, it was determined that the best place was behind the driver rear area behind the rear wheel (which was to be my kitchen. Arghhh, storage place gone, have to refigure the kitchen cabinets). Since this is an older generator, the installation is different than models today. When finding a place for yours (old or new), be sure to research the mounting requirements. Our generator fits through the floor, so it has to have an airtight compartment inside the bus (carbon Monoxide) as well as sitting in a hole open to the outside. We had to install it this way because of the structural post between the windows and the 'angle iron' along the sides (did not know if it was structural or not.) Therefore we could not have a door to the outside. |
|
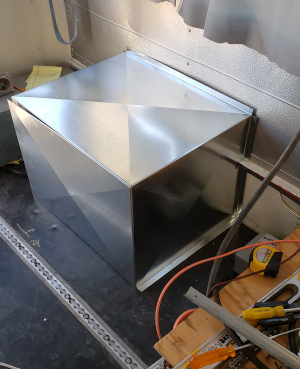 |
We had a local sheet metal place make us a metal cover to our specifications. This is just fitting it in to see if it would work. | |
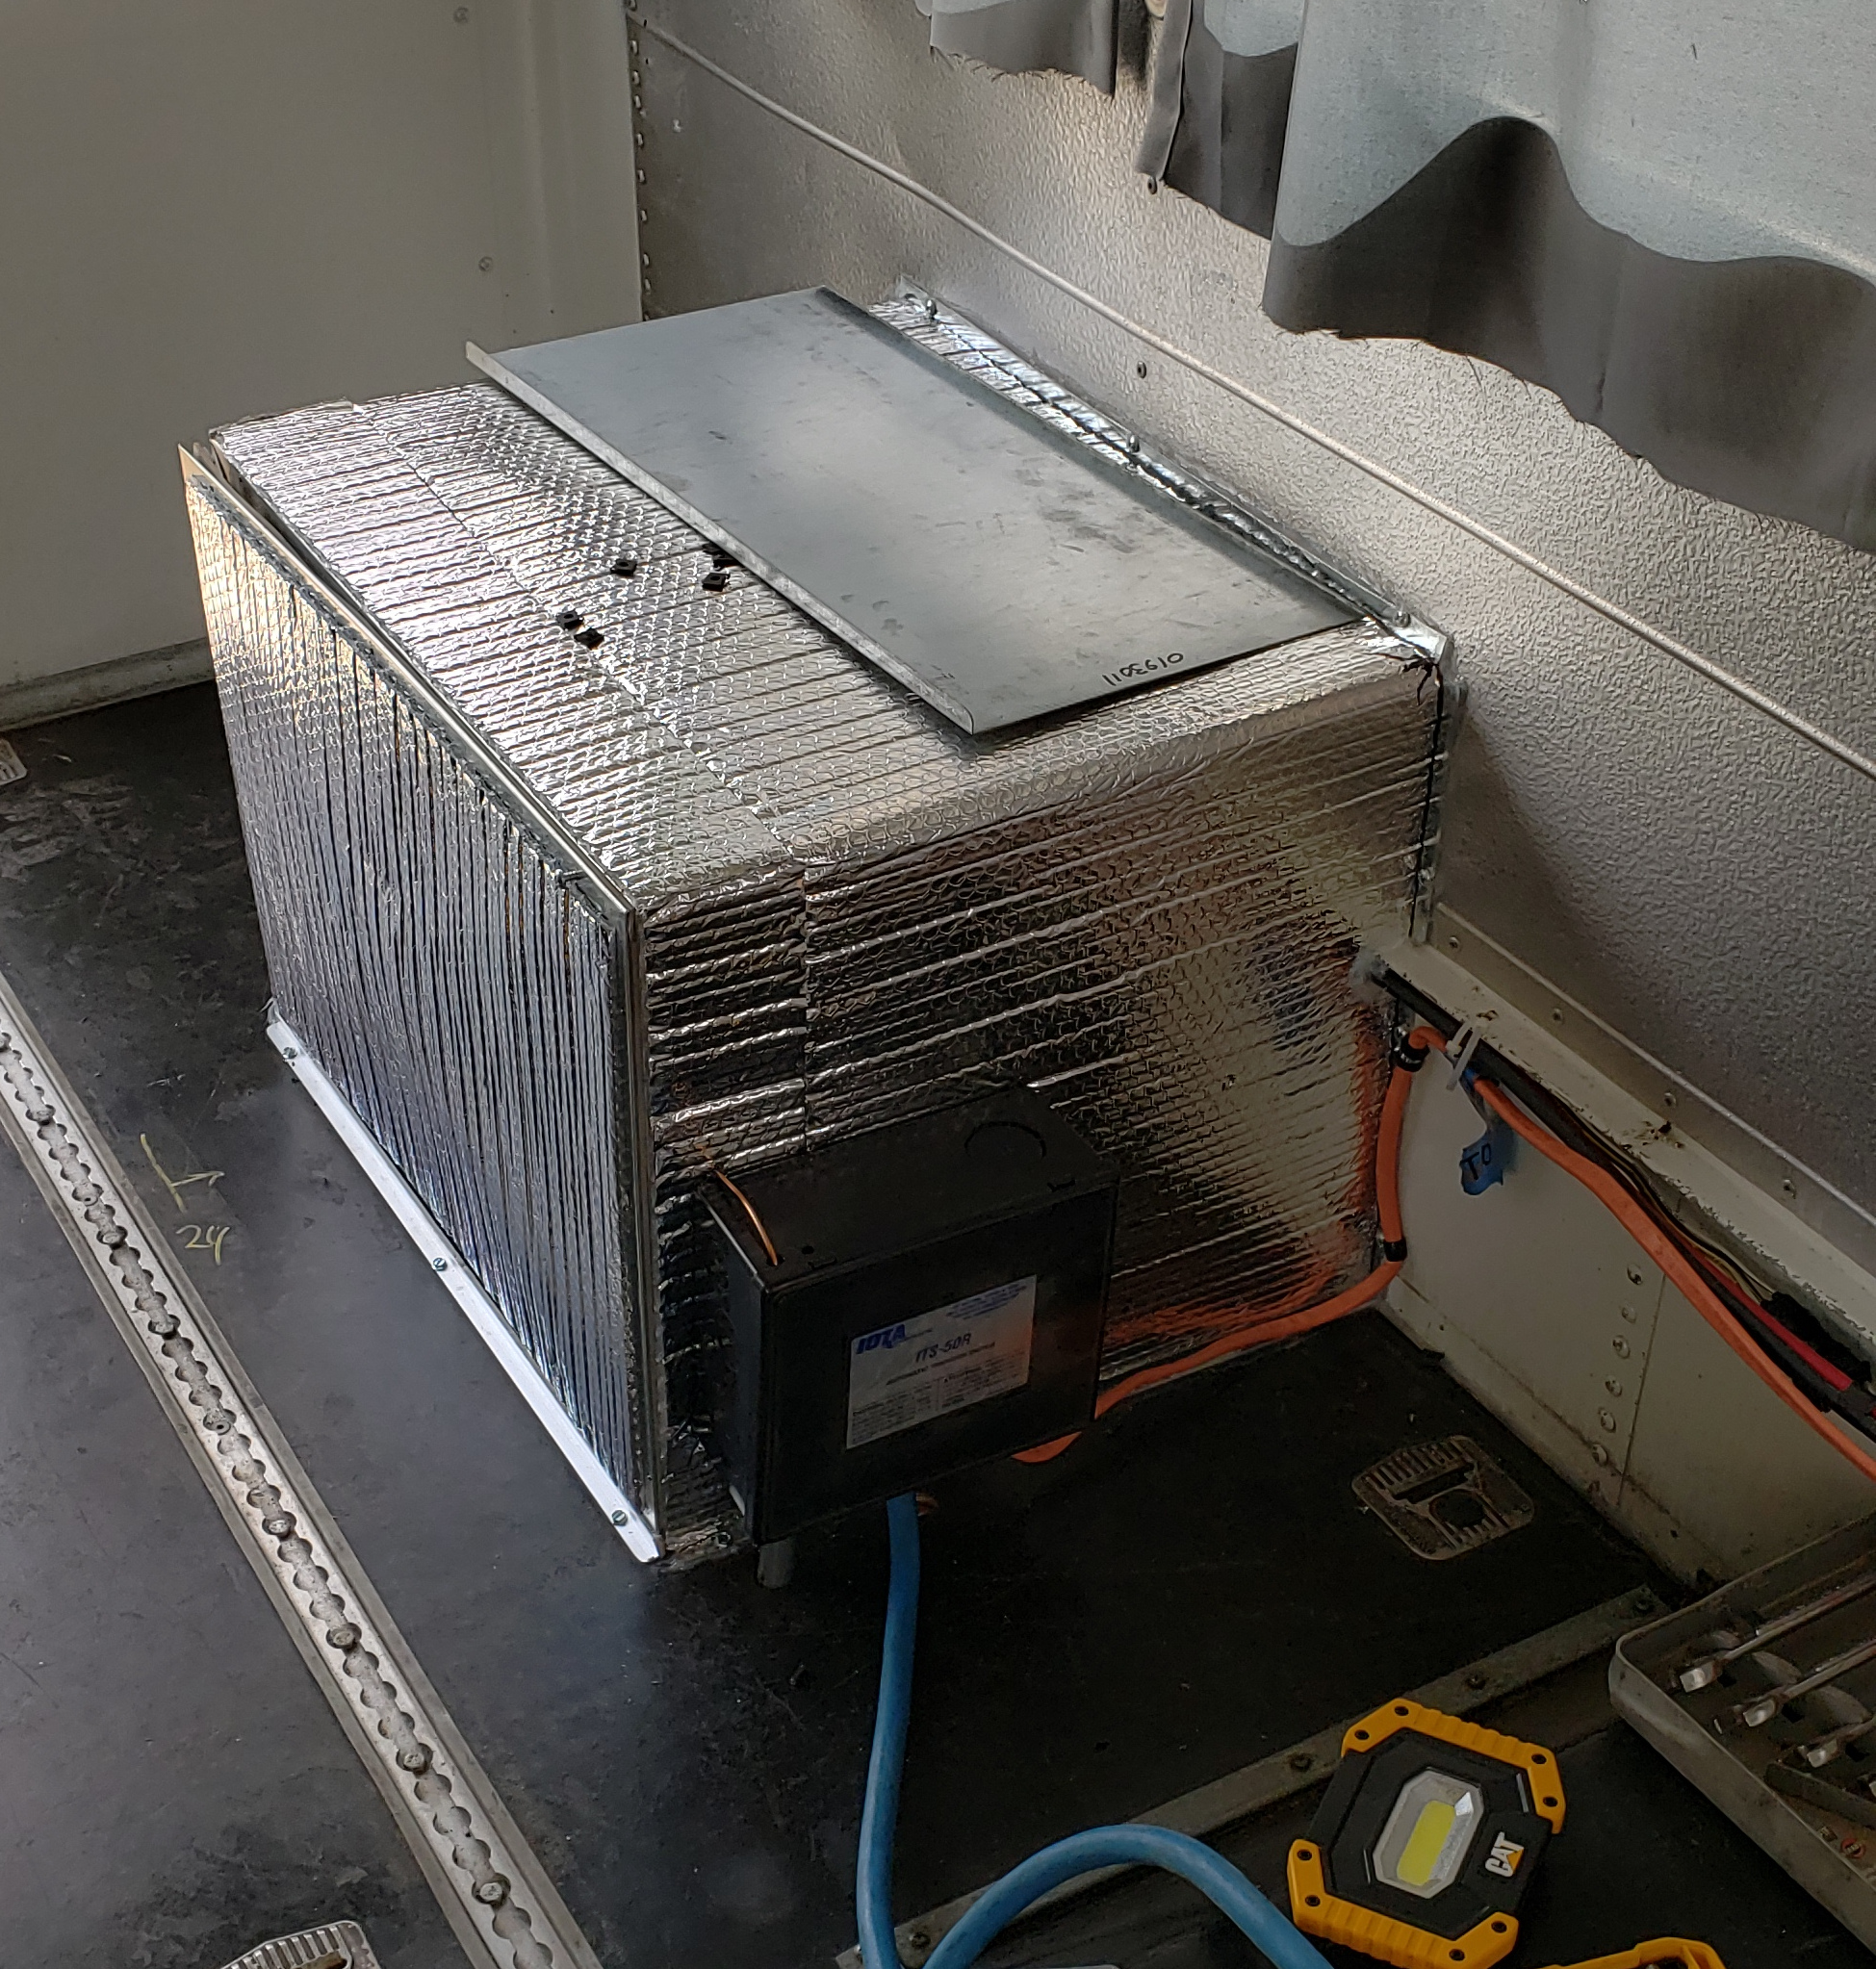 |
It is insulated for heat, noise, and is sealed to prevent the nasty stuff. This is after the electrical was hooked up to it to test it all. |
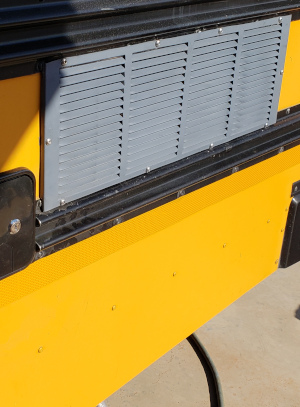 |
Next was the vent grill to the outside for ventilation for the generator. It had to fit over the 'angle iron' on the inside wall (It is double-walled) and between the black rails on the outside of the bus for esthetic reasons....after all it will keep the school bus look. |